In every home, you’ll find a junk drawer. It’s the place where you throw all the odds and ends that don’t quite fit in anywhere else.
It’s very common to have a kitchen junk drawer but you may have more than one of them scattered throughout your house. There may also be a drawer full of miscellaneous stuff in the bathroom and office.
Figuring out the best way to organize your junk drawer can be a challenge as it contains a bunch of random items. But, just because it contains lots of different things, doesn’t mean that it has to be untidy.
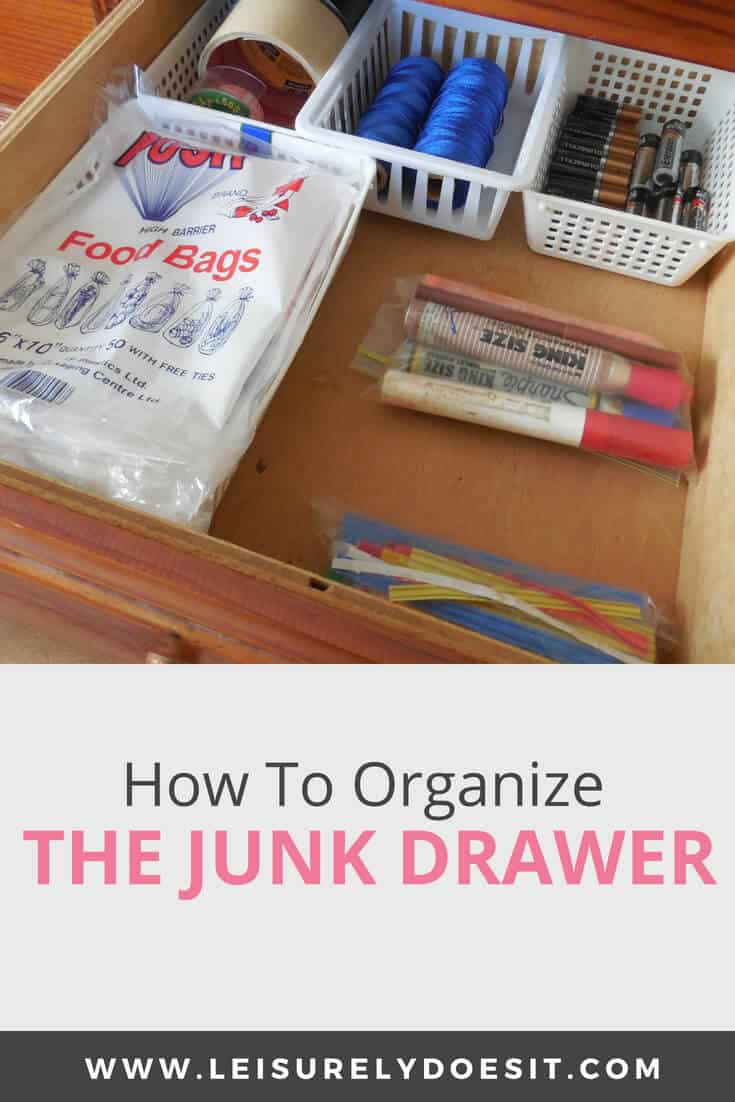
I organized the junk drawer in my parent’s kitchen and I’ll share some tips to help you do the same with yours.
How To Organize The Junk Drawer
This post contains affiliate links. If you click and make a purchase, there’s absolutely no extra cost to you. Read my full Disclosure Policy here.
What You Will Need:
You’ll need a few supplies before you begin organizing:
- Trash bag
- Vacuum cleaner and/ or a damp cloth
- Measuring tape or ruler
- Drawer organizers, preferably ones with non-slip feet and lining like these
- Non-slip drawer liner, if you don’t have non-skid drawer organizers
- Label maker
Let’s a take a look at the drawer before I decluttered and organized it:
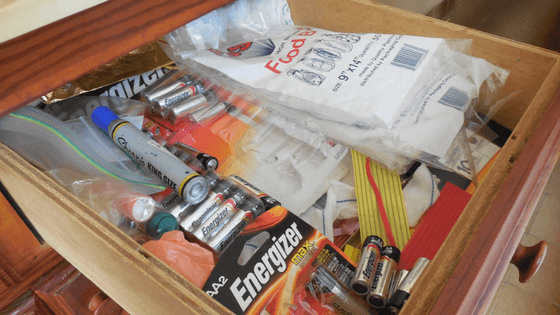
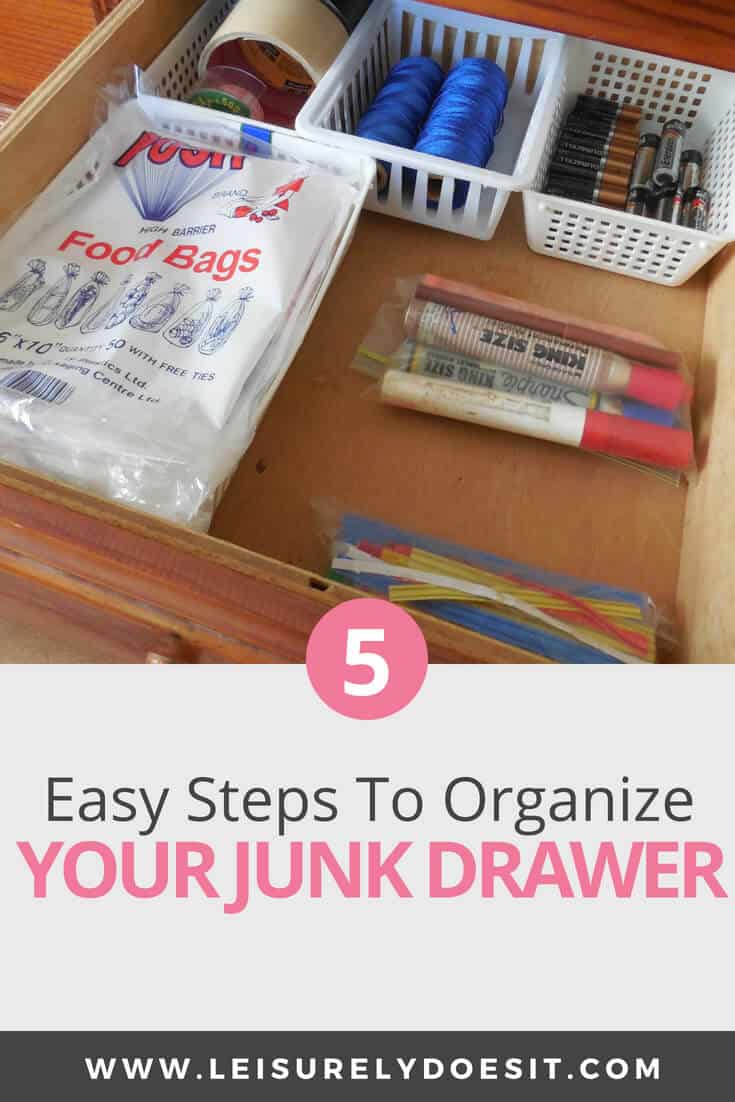
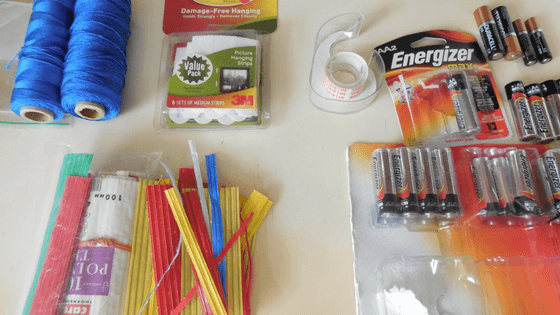
You can see that there was no organization in this drawer whatsoever. I found everything under the sun in there—tons of batteries, markers, food storage bags, twist ties, even bandages!
Now that you’ve seen the before, let’s move on!
1. Declutter Junk Drawer
The first thing you need to do is remove everything from the drawer. As you go, create piles by grouping like items together. Throw out any trash e.g. expired coupons, old take-out menus and anything else you don’t use.
You may feel a little guilty as you go through this part of the process. Some of these items, you may have spent good money to buy. Asking yourself these questions as you organize can help. Make sure you answer honestly.
You will probably find items that don’t even belong in the particular room you’re in. Put those aside and take them to their rightful homes later.
That’s exactly what I did. I removed a bunch of things from the drawer. They were either thrown away or stored somewhere else that made more sense. Then, I focused on organizing what was left.
2. Clean the Drawer
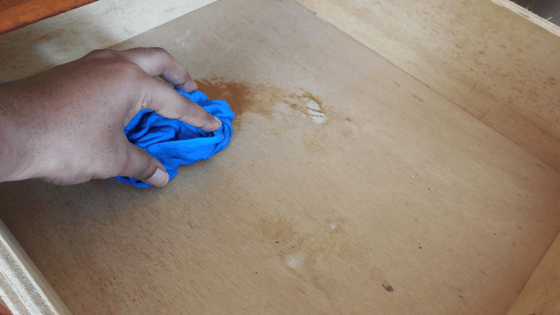
Next, vacuum out the drawer if it’s really dirty and dusty. Then, take a damp cloth and wipe the inside to make sure you have a clean surface. Let the interior dry before you continue.
3. Select Storage
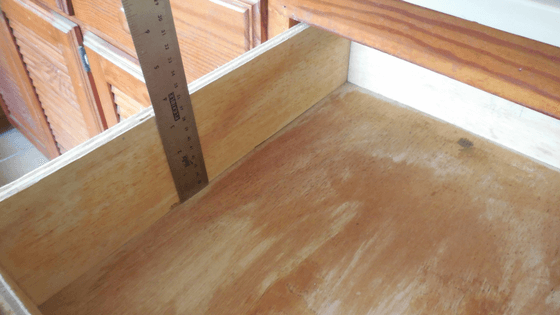
Of course, you’ll want to ensure that the containers you select will fit inside your drawer. Measure the width and height and gather junk drawer organizers that are the right dimensions. The containers must also be adequately sized to hold the items you’ll be keeping in them.
Use drawer organizers, decorative bowls or trays, small cardboard boxes and even ice-cube trays. If you can, get containers like these with a non-slip liner and rubber feet that will prevent things from sliding around every time you open and close the drawer.
Alternatively, line the bottom of the drawer with non-slip drawer liner. Simply cut to size and you’re ready to go. You can even use this to line the inside of each storage container to keep the contents in place. This is the option I usually use but I realized that nothing moved around as I opened and closed this particular drawer. Maybe the unfinished wood prevented items from slipping.
4. Organize Your Junk Drawer
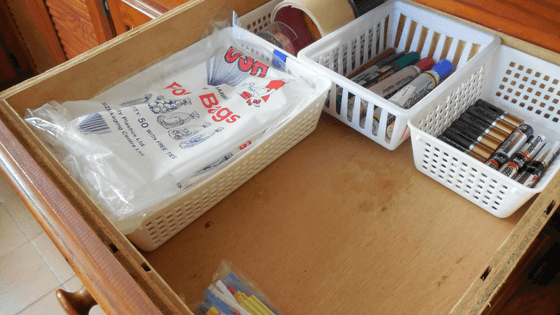
Arrange the storage containers in the drawer and then place the items you will be storing in their new home. Group similar items in separate compartments. Place frequently used things at the front of the drawer and the rarely used items at the back. This makes it really easy to access things when you need them.
It may seem strange to have left the food storage bags in the junk drawer along with sharpies and tape. But, I decided to keep them there because that’s where they’ve been stored for several years and people are accustomed to them being in there. Plus, there was no room in the drawer where the foil and other food storage supplies are kept. Always consider function and your family’s habits in your organization system.
I had a ton of space left in one corner of the drawer and that is absolutely fine. There’s room to put a couple more baskets in case I need to add more items to this space later.
5. Label
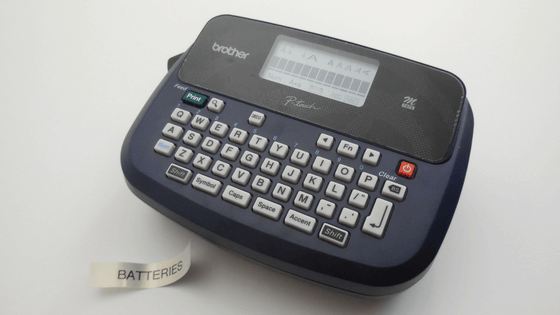
Finally, when you’re happy with your new arrangement, be sure to label each compartment. Labeling is key to maintaining your organization system. I love using my label maker to print out labels but you can certainly create your own DIY labels at home, if you don’t have one.
Those were five easy steps to organize a junk drawer. Take yours from a chaotic mess to an area where everything is easy-to-find.
Did you enjoy this post? If so, don’t forget to share it on Pinterest!
