This post contains affiliate links. If you click and make a purchase, there’s absolutely no extra cost to you. Read my full Disclosure Policy here.
Make Easy DIY Labels At Home
1. Print your own labels on adhesive label paper.
You can find adhesive labels in any stationery store and online. Use the appropriate label templates available in Microsoft Word and print! Then, simply peel and stick. The labels come in all sizes and shapes or you can get the full-page sizes and cut out your own unique designs.
2. Label maker
There are a wide variety of label makers out there and they are relatively easy to use. I own the Brother PT-45. The downside to using a label maker is you will need to purchase batteries and tape cassettes to fit your machine. As long as you consistently use the same tape colour, font and font size, your labels will add to the organized appearance of your space.
3. Dry Erase or Chalkboard Labels
If you have storage bins with contents that change frequently e.g. storage containers kept in your kitchen, then dry erase or chalkboard labels will be perfect for you. The writing can simply be erased and replaced. (See the ones that I use here.)
Dry erase or chalkboard labels are also a great option when you are just developing your organization systems. You may need to move things around until you figure out what works best for you. Using these labels means they can change with your needs.
4. Print labels on regular printer paper or card
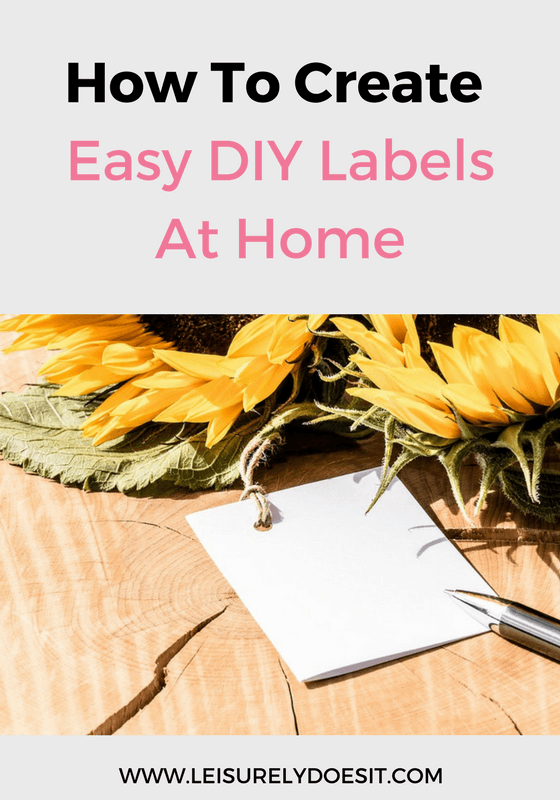
Design your labels in Microsoft Word, print and cut them out. You can easily stick them to the storage container with some tape for easy removal. To create your own hang tags, punch a hole with a hole punch and thread some cord or ribbon through the hole. Hang tags are great for baskets as you can thread the ribbon or cord through the basket weave or handle.
5. Create laminated labels
If you want to make regular printed labels more permanent, try laminating them. Then, you can cut them out and fix them to the desired location with tape, cord or ribbon. If you don’t own a laminating machine and don’t want to purchase one, you can use self-seal laminating pouches.
What is your favourite method to create DIY labels?
